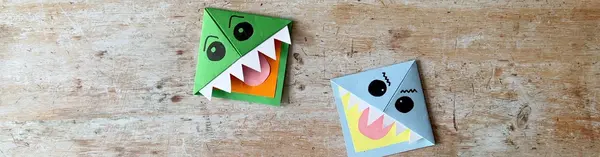
Our theme this year is Maths Tales, so for World Book Day (Thurs 7 March) we are showing you how to make an origami bookmark. Did you know the word origami comes from Japanese, and means 'paper folding' (from ori meaning "folding", and kami meaning "paper").
Origami involves a lot of maths skills. You are turning a flat piece of paper in to a 3D shape, which requires spatial awareness. There are fractions involved when you fold your paper in to halves, quarters or more. And when you crease the paper, you are creating lines and angles - the relationship between these is important for your origami creation to turn out successful. A lot of origami designs also involve symmetry or rotation, e.g. when you need to mirror the same folds on the other side of your paper, or when you need to turn your paper around.
Why not explore some of these maths skills while you have a go at folding our monster bookmarks. You can watch the short video below, or scroll down for more detailed step-by-step instructions.
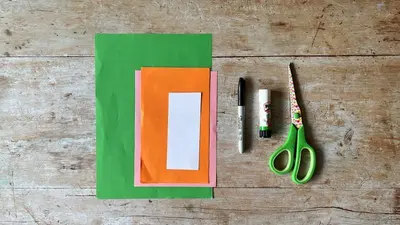
You will need:
one sheet of A4 paper in a colour of your choice OR origami paper
other coloured bits of paper – you can use up paper scraps for this
white card – for the teeth!
a pair of scissors
a glue stick
a black pen
Note: The tutorial shows you how to make a large bookmark. For a smaller bookmark, just use a smaller sheet of paper. The smallest we would advise is a 15cm x 15cm square, otherwise it gets to fiddly. You can also use origami paper, which already comes in squares, and skip the first steps.
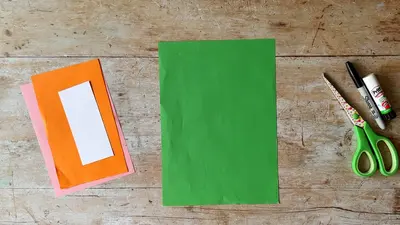
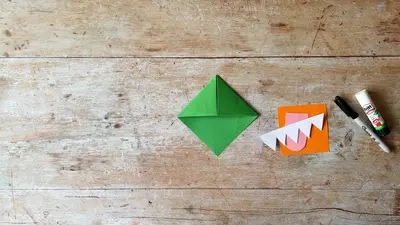
Step 1: Place the A4 sheet of paper in front of you, with the short side at the top.
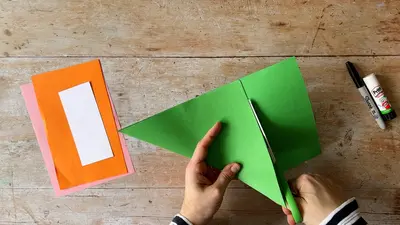
Step 2: Take the bottom right hand corner, and fold it up to meet the left side of the paper so that the edges line up.
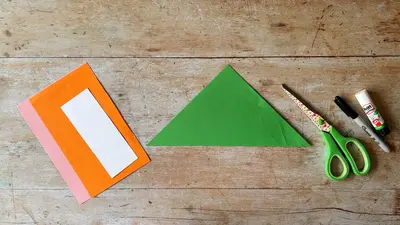
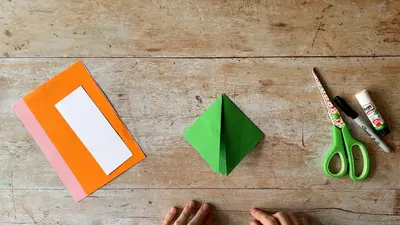
Step 3: Cut off the excess paper, so that you are left with a folded triangle.
Step 4: Lay the triangle in front of you with the folded edge at the top. Take the top layer of the corner that is pointing down, and fold it up to meet the top edge.
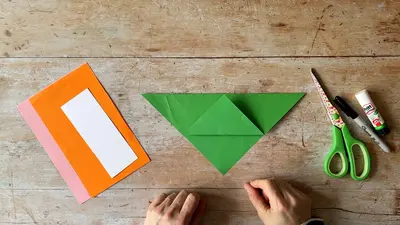
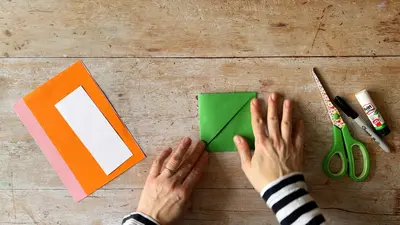
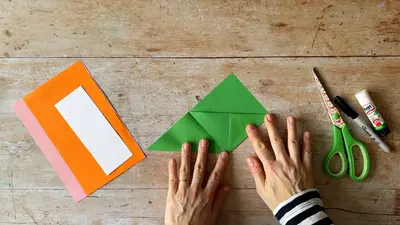
Step 5: Now take the top right hand corner and fold it down to meet the middle of the corner that is pointing down.
Step 6: Repeat the same step for the other side of the paper. You should now have a small square.
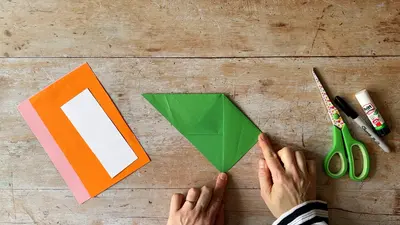
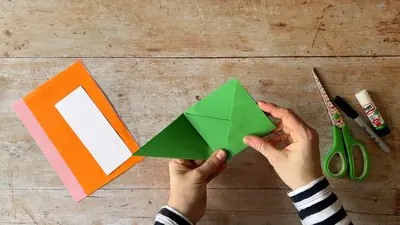
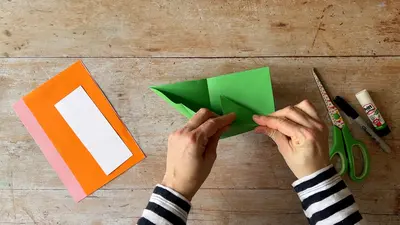
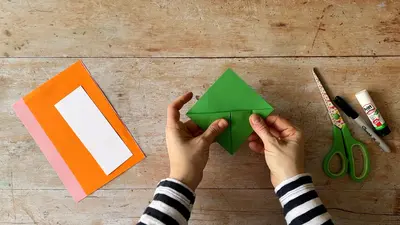
Step 7: Turn your square around, so that the open end is pointing up. Then take the top corner and fold the right half of it inwards (the video makes it much clearer what to do here).
Step 8: Repeat the previous step with the other side.
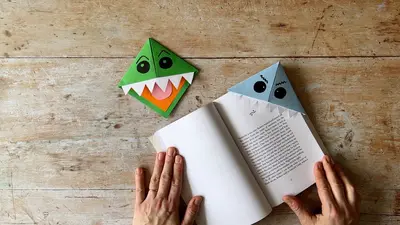
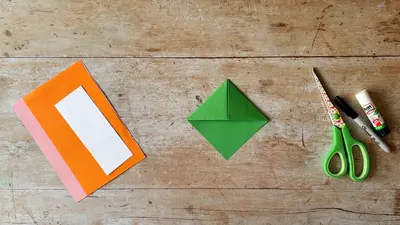
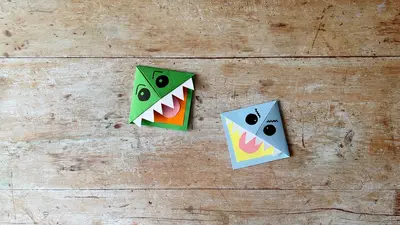
Step 9: Turn your square around, so that the side with the tucked in ends is at the top and the opening is pointing down. You are now ready to decorate your bookmark!
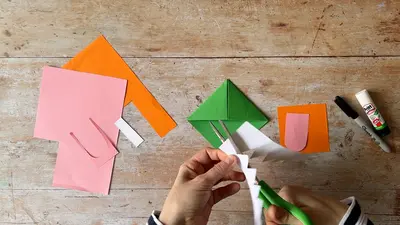
Step 10: Cut out some shapes from coloured paper to decorate your bookmark. We decided to turn ours in to a book monster! Adding the extra square of paper for the mouth strengthens that side of the bookmark, then we’ve also added a tongue and teeth. The mouth and tongue are glued on to the bottom side, and the teeth are glued under the rim of the top side. We recommend using card rather than paper for the teeth, as this will stand up better to wear and tear. Of course, you can choose to decorate your bookmark any other way you wish too!
For some more origami maths fun, check out our previous video on how to fold an origami hexagon - you can use it to send someone a letter!
If you make your own origami bookmarks, we would love to see some photos. Please feel free to tag us in on Bluesky or Facebook, and use the hashtag #MathsWeekScot.
Responsibility for the Maths Week Scotland programme is moving to Education Scotland. Planning is underway for the tenth anniversary of the programme. Further information will be available from Education Scotland soon.